Quick answer: On Windows 10 build 20H1 (19041+) and all Windows 11 versions: open PowerShell as Administrator, run wsl --install, restart, then create a Linux username — the whole process takes under 5 minutes. On older Windows 10 builds 18362–19040: enable two Windows features via dism.exe, download the WSL2 kernel update from aka.ms/wsl2kernel, run wsl --set-default-version 2, then install a distribution. Check your build with Win + R → winver before starting. Last verified March 2026.
This guide covers how to install WSL2 on Windows 10 and Windows 11. There are two methods: the one-command install that works on Windows 10 build 20H1 and newer, and the manual method for older builds. Both are covered with exact commands, what you should see when each step works, and the specific errors that come up during installation. Last updated March 2026.
Once WSL2 is running you will likely need to move files between Windows and your Linux environment — the WSL file transfer guide covers every method. For backing up your WSL instance before making major changes, see the WSL2 backup guide.
Which WSL2 install method do I need for my Windows version?
Check your Windows build before running any commands — build 19041 is the cutoff between the one-command and manual methods, and using the wrong method wastes time without a clear error.
| Windows version | Build number | Install method |
|---|---|---|
| Windows 11 (all editions) | 22000+ | One command: wsl --install |
| Windows 10 20H1 and newer | 19041+ | One command: wsl --install |
| Windows 10 builds 1903–1909 | 18362–19040 | Manual method (dism + kernel download) |
| Windows 10 below build 18362 | <18362 | Not supported — update Windows first |
Check your build with PowerShell:
# Check your Windows build in PowerShell
Get-ComputerInfo | Select-Object WindowsProductName, WindowsBuildLabEx
Expected output:
WindowsProductName   WindowsBuildLabEx
------------------   -----------------
Windows 11 Pro       22621.1.amd64fre.ni_release.220506-1250
Or press Win + R, type winver, hit Enter. The popup shows your version and build number directly.
Virtualization must be enabled in BIOS/UEFI — most modern machines have it on by default. If your install fails with error 0x80370102, that is the cause. Enter BIOS on boot (usually Del or F2) and enable Intel VT-x or AMD-V.
How do I install WSL2 with one command on Windows 10 20H1+ and Windows 11?
Open PowerShell as Administrator — right-click the Start button, select Windows PowerShell (Admin) or Terminal (Admin) — then run:
wsl --installExpected output:
Installing: Virtual Machine Platform
Virtual Machine Platform has been installed.
Installing: Windows Subsystem for Linux
Windows Subsystem for Linux has been installed.
Downloading: WSL Kernel
Installing: WSL Kernel
WSL Kernel has been installed.
Downloading: Ubuntu
The requested operation is successful. Changes will not be effective until the system is rebooted.
This single command enables the required Windows features, installs the WSL2 kernel, sets WSL2 as the default version, and downloads Ubuntu. Restart your computer after it completes — the features are not active until after the restart.
How do I install a different Linux distribution instead of Ubuntu?
# See available distributions
wsl --list --online
NAME FRIENDLY NAME
Ubuntu Ubuntu
Debian Debian GNU/Linux
kali-linux Kali Linux Rolling
Ubuntu-20.04 Ubuntu 20.04 LTS
Ubuntu-22.04 Ubuntu 22.04 LTS
Ubuntu-24.04 Ubuntu 24.04 LTS# Install a specific distribution
wsl --install -d Ubuntu-24.04What errors will I hit during the one-command install and how do I fix them?
Error 0x80370102 — virtualization is disabled in BIOS:
Error code: Wsl/Service/CreateInstance/CreateVm/HCS/0x80370102Restart, enter BIOS setup (Del or F2 on most systems), find Virtualization Technology or Intel VT-x or AMD-V, enable it, save and exit.
Error 0x8007019e — WSL feature did not enable properly:
Error: 0x8007019eRun these two commands in elevated PowerShell and then restart:
dism.exe /online /enable-feature /featurename:Microsoft-Windows-Subsystem-Linux /all /norestart
dism.exe /online /enable-feature /featurename:VirtualMachinePlatform /all /norestart
wsl –install hangs with no output: PowerShell was not opened as Administrator. Close it and reopen with right-click → Run as Administrator.
How do I install WSL2 manually on Windows 10 builds 18362–19040?
Older Windows 10 builds do not support wsl --install — you need to enable two Windows features with dism.exe, download the WSL2 kernel package separately from Microsoft, set WSL2 as the default version, and then install a distribution. Four steps total.
Step 1 — Enable required Windows features
In elevated PowerShell:
dism.exe /online /enable-feature /featurename:Microsoft-Windows-Subsystem-Linux /all /norestart
dism.exe /online /enable-feature /featurename:VirtualMachinePlatform /all /norestart
Expected output for each command:
Deployment Image Servicing and Management tool
Version: 10.0.19041.844

Image Version: 10.0.19041.844

Enabling feature(s)
[==========================100.0%==========================]
The operation completed successfully.
Restart your computer now. Do not proceed to Step 2 without restarting — the features are not active until after the reboot.
Step 2 — Download and install the WSL2 kernel package
Download the WSL2 Linux kernel update package from Microsoft: aka.ms/wsl2kernel. Run the downloaded .msi file as Administrator — it installs silently in about 10 seconds.
Without this step, any WSL2 distribution you try to launch will fail with:
WslRegisterDistribution failed with error: 0x8007019e
Error: 0x8007019e The Windows Subsystem for Linux has not been enabled.
Step 3 — Set WSL2 as the default version
wsl --set-default-version 2Expected output:
For information on key differences with WSL 2 please visit https://aka.ms/wsl2
The operation completed successfully.
If you skip this step and install a distribution from the Microsoft Store before setting the default version, it installs as WSL1. Converting it to WSL2 afterwards takes 5–30 minutes depending on distribution size.
Step 4 — Install a Linux distribution
# Install Ubuntu 22.04
wsl --install -d Ubuntu-22.04
If wsl --install -d is not available on your build, open the Microsoft Store, search for Ubuntu, and install from there. Make sure you completed Step 3 first — installing from the Store before setting the default version installs WSL1.
What happens on the first WSL2 launch and what do I need to set up?
Launch Ubuntu from the Start menu — the first launch unpacks the distribution and takes 1–3 minutes, then prompts you to create a Linux username and password. This account is separate from your Windows account and the username does not need to match.
Installing, this may take a few minutes...
Please create a default UNIX user account. The username does not need to match your Windows username.
For more information visit: https://aka.ms/wslusers
Enter new UNIX username: yourname
New password:
Retype new password:
passwd: password updated successfully
The password does not show as you type — that is standard Linux terminal behaviour, not a bug. Once setup completes, update the package list:
sudo apt update && sudo apt upgrade -yHow do I confirm I am running WSL2 and not WSL1?
# Run in PowerShell on Windows
wsl -l -v
NAME STATE VERSION
* Ubuntu Running 2VERSION 2 confirms WSL2. If it shows VERSION 1, convert it — this takes 5–30 minutes and shows percentage progress. Do not close the PowerShell window during conversion:
wsl --set-version Ubuntu 2How do I limit how much RAM and CPU WSL2 uses?
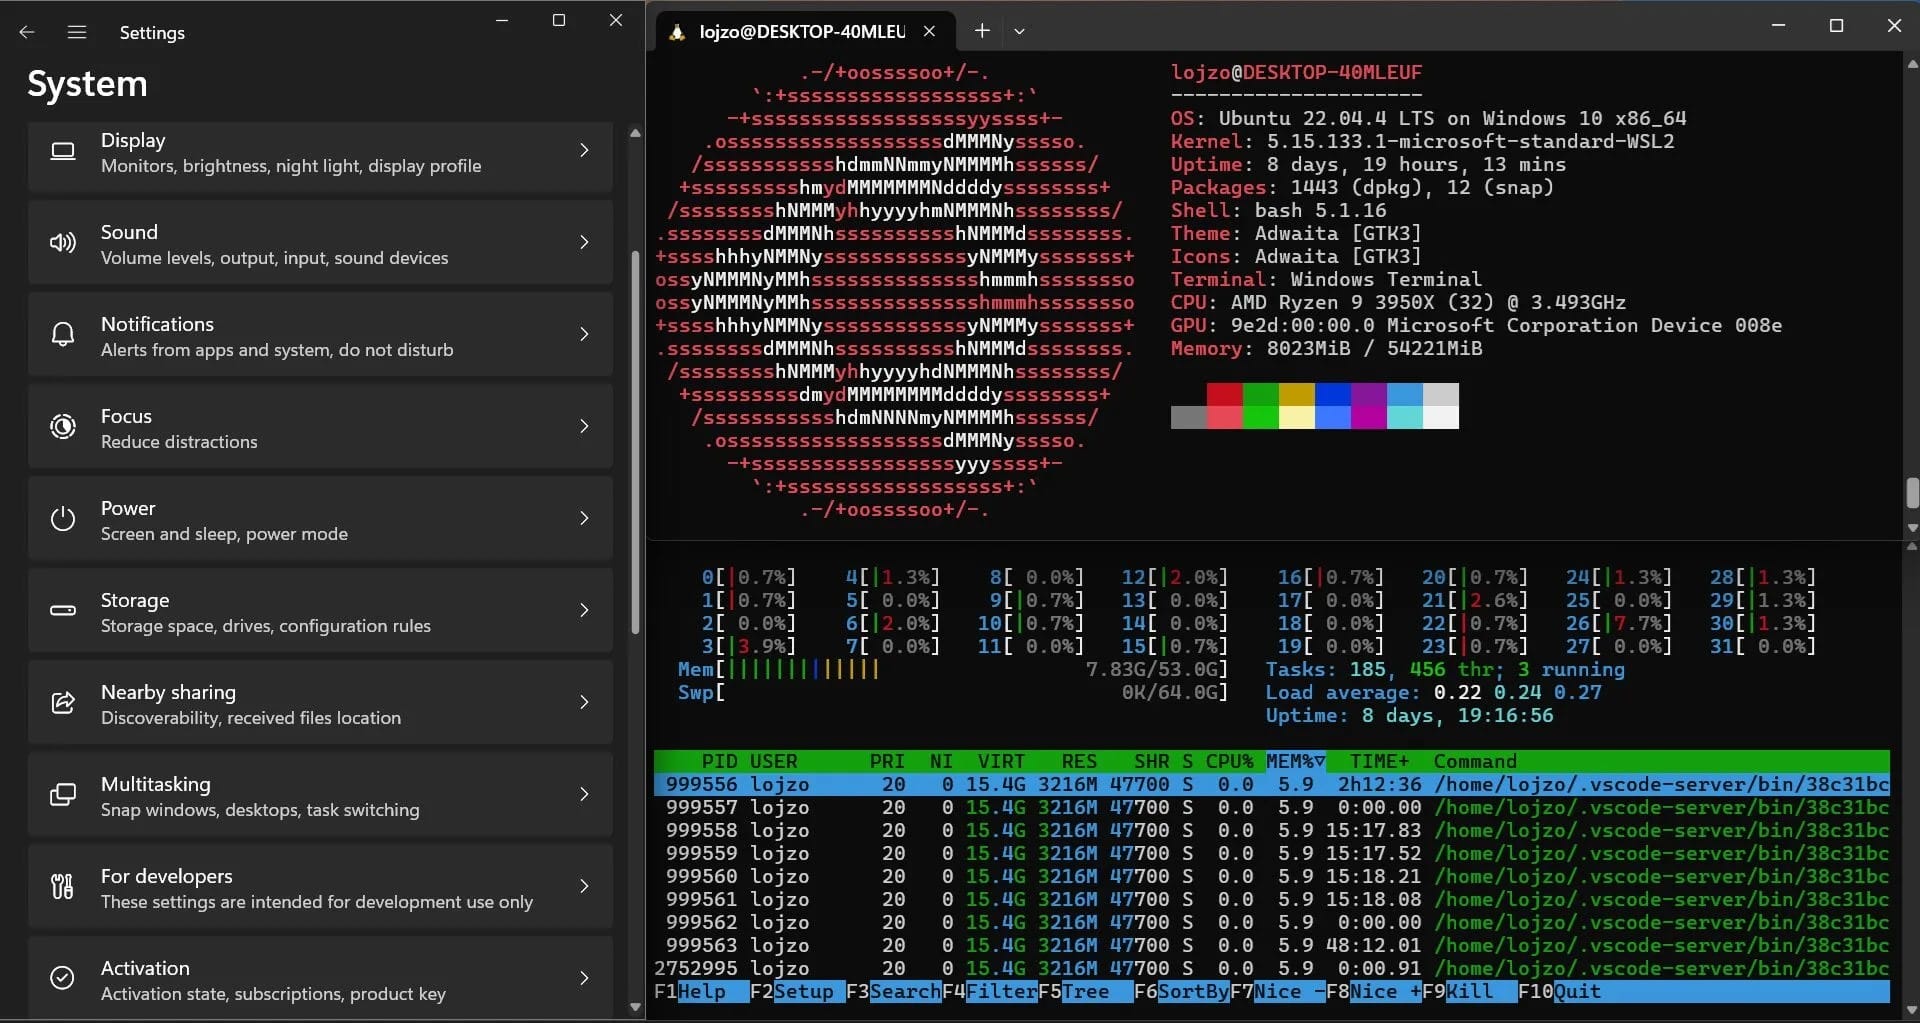
By default WSL2 uses up to 50% of total system RAM — on a 16 GB machine that is 8 GB. Create a .wslconfig file in your Windows user directory to set explicit limits.
Open Notepad and save the file as C:\Users\YourUsername\.wslconfig with this content — adjust values for your system:
[wsl2]
memory=4GB
processors=2
swap=2GB
Leave at least 4 GB for Windows itself. Setting memory=4GB on an 8 GB machine means both Windows and WSL2 share 8 GB, which causes Windows to page heavily under load.
Apply the changes by restarting WSL2:
# In PowerShell
wsl --shutdown
# Wait 10 seconds, then relaunch your distribution
Verify the limit took effect from inside WSL2:
free -h total used free
Mem: 3.8Gi 312Mi 3.5Gi
Swap: 2.0Gi 0B 2.0GiThe total memory shown should match your .wslconfig limit. For Linux swap behaviour inside WSL2, see the Linux swap management guide — WSL2 manages its own swap independently from host Linux swap.
How do I fix common WSL2 problems after installation?
Why does my WSL2 distribution launch and immediately close?
Launch from PowerShell instead of the Start menu to see the actual error — the Start menu window closes before you can read it:
wsl -d UbuntuIf the output contains:
Error: 0x800701bc WSL 2 requires an update to its kernel component.Download and run the kernel update from aka.ms/wsl2kernel, then try again.
Why does WSL2 have no internet access?
# Test from inside WSL2
ping 8.8.8.8
If ping works but DNS does not — you can reach IPs but not domain names — the /etc/resolv.conf is broken or being overwritten. Fix it:
sudo rm /etc/resolv.conf
echo "nameserver 8.8.8.8" | sudo tee /etc/resolv.conf
sudo chattr +i /etc/resolv.conf
chattr +i makes the file immutable so WSL2 does not overwrite it on next start. If neither ping nor DNS work at all, Windows Firewall or a VPN is likely blocking WSL2 network traffic — temporarily disable the VPN and test again to confirm.
How do I fix WSL2 not starting after a Windows update?
# In elevated PowerShell
wsl --shutdown
Restart-Service LxssManager
wsl -d Ubuntu
If that does not resolve it, a Windows update may have replaced the WSL2 kernel with an incompatible version — reinstall it from aka.ms/wsl2kernel. Check overall WSL2 state with:
wsl --statusDefault Distribution: Ubuntu
Default Version: 2
Windows Subsystem for Linux was last updated on 14/03/2026
The Windows Subsystem for Linux kernel can be manually updated with 'wsl --update'.Essential WSL2 commands reference
# List installed distributions and their WSL version
wsl -l -v

# Shut down all running distributions
wsl --shutdown

# Launch a specific distribution
wsl -d Ubuntu

# Run a single command inside WSL2 without opening a shell
wsl -d Ubuntu -- ls -la /home

# Export a distribution to a backup file
wsl --export Ubuntu C:\Backups\ubuntu-backup.tar

# Import a distribution from backup
wsl --import Ubuntu-Restored C:\WSL\Restored C:\Backups\ubuntu-backup.tar

# Update the WSL2 kernel
wsl --update

# Unregister (delete) a distribution — permanent, cannot be undone
wsl --unregister Ubuntu
wsl --unregister permanently deletes the distribution and every file inside it — always export a backup first if the distribution has anything you want to keep. The full backup and restore process is covered in the WSL2 backup guide.